Restart a 3d print
Just a quick one about the process I went about restarting a aborted print. I was printing this custom lego brick platform and for whatever reason the filament stopped running and I found that I had a 3/4 finished print.
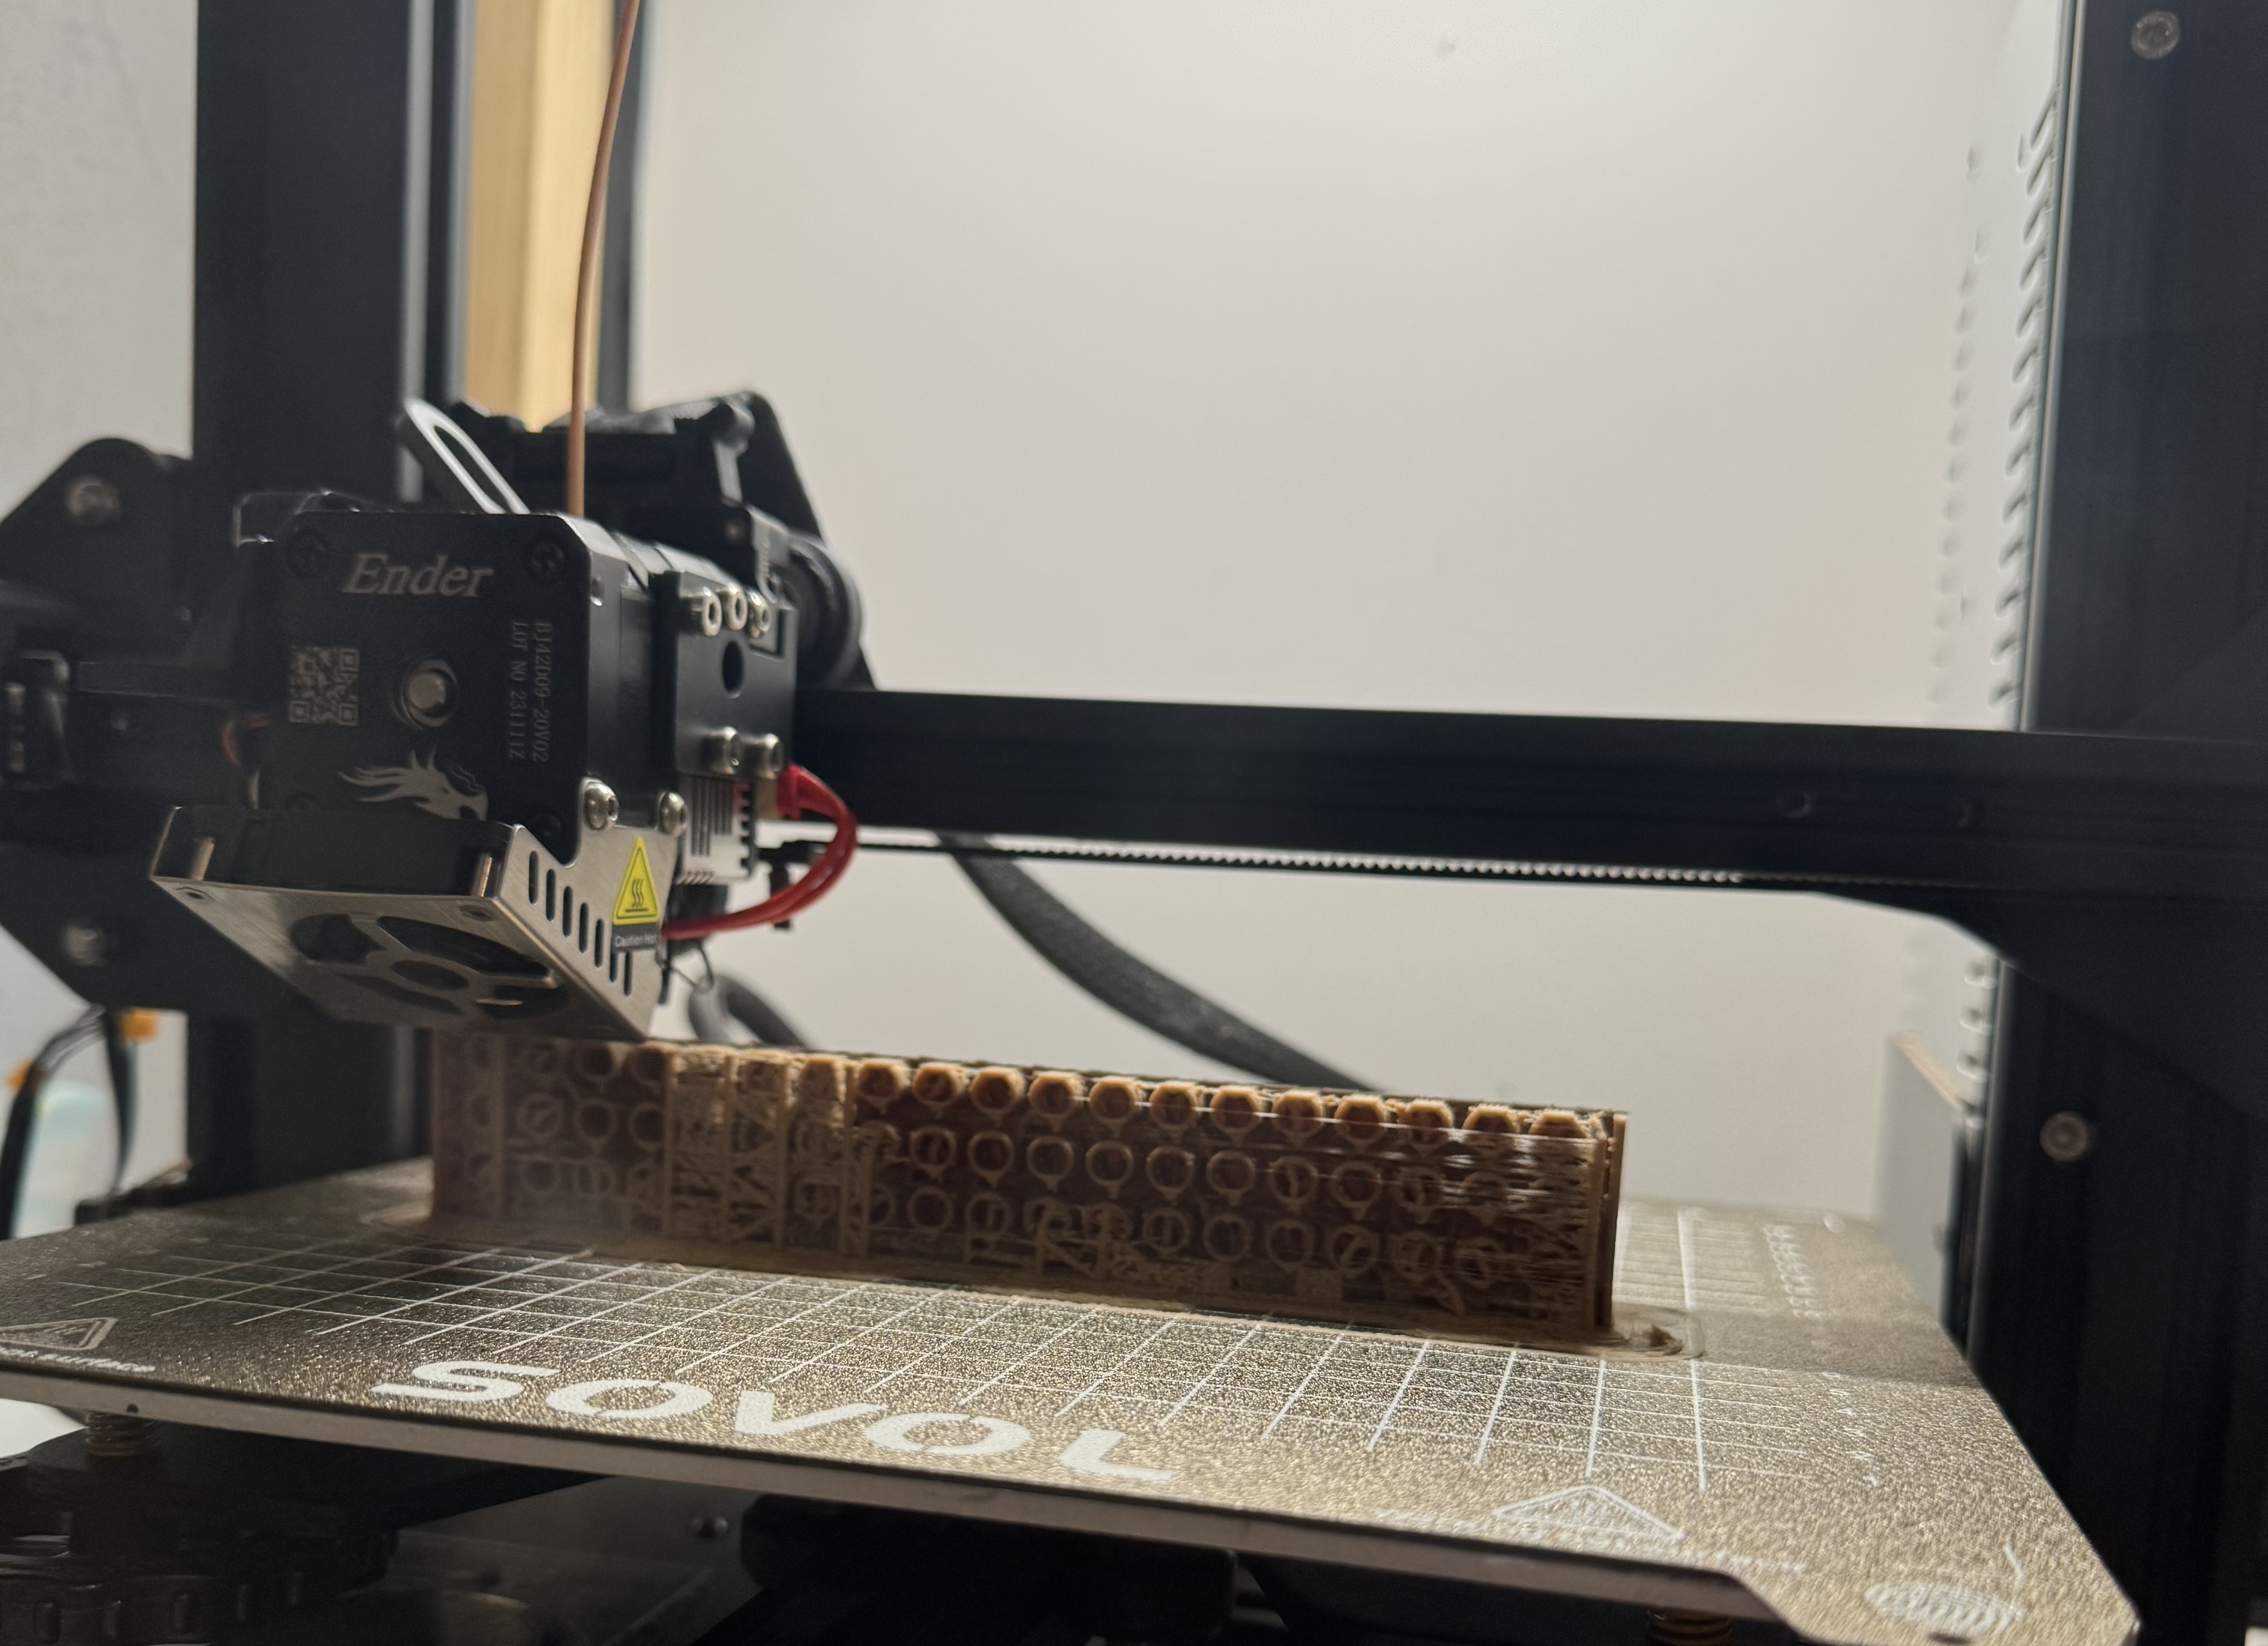
I remembered watching a video by Painted4Combat where Jacob has a dragon wing that didn't complete properly and he ended up working out the part of the print that was remaining and printed it separately and stuck it on. In my case the print was still on the bed, and wouldn't have been conducive to gluing as it was in the middle of printing out supports and the edge of the tubes underneath the lego. So I wondered if I could just restart the print from there it failed - I had a clean edge and was hopeful.
I ended up finding Emily the Engineer's video that explained a good method for editing the gcode.
She used the printer to work out the height of the print and then finding the line in the gcode.
However, I did this slightly differently.
I went into OrcaSlicer where I had done the original slicing, and when in there, once you have sliced once, and in the Preview mode you can use the up and down arrows to adjust the current layer being displayed.
I just eyeballed the place the print was up to, then clicked on the bar on the right choosing Add Custom GCode.
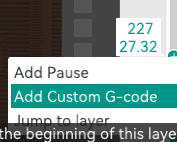
You can then enter anything into the dialog, Slice plate again and then Export G-code file.
This will produce the G-code file including the text you entered.
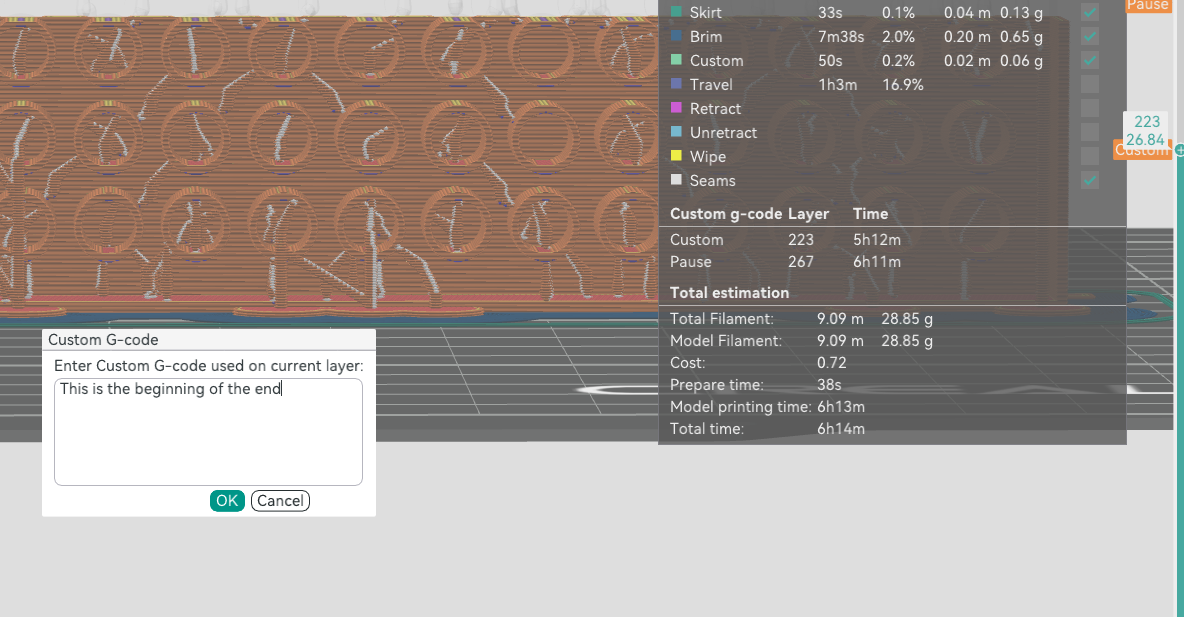
You can then edit this with a text editor (vim in my case) and if you search through the file you can find the text you entered like:
;CUSTOM_GCODE
This is the beginning of the end
There is a few option here.
But essentially you want to delete pretty much all the gcode before this point, as well as those two lines.
You can remove it all and then manually control the temperature and initial position for the printer.
However, I left in the initial block where it manages the warming up of the printer and bed and homing.
I don't know if this is the default for OrcaSlicer, but it sets an initial temperature of 150, then does a bit of homing (but doesn't come back to the base plate).
It then heats up to the set temperature and waits for this to stabilise.
You can find this in the gcode - my print has a nozzle temperature of 210 so I could search from the start of the file for that.
M190 S60 ; wait for bed temp to stabilize
M109 S210 ; wait for nozzle temp to stabilize
I have a Creality Ender 3 V2 so the exact gcode may vary for your printer.
I then inserted a move direct up to be above the print, taking the z-axis value from the point after I inserted the custom gcode and adding some extra space (I increased mine by 10).
G1 X0 Y0 Z27.84 F9000
I since found out I could have just put G1 Z27.84 F9000.
But this was done to ensure that you start from above the print as the G1 is a linear move to that point, so depending on your print you might end up trying to pass through the print if you don't move above the print first.
Then you come to the point after you've inserted the custom code and it'll move to the start of the layer and resume the print.
My eyeballing was probably off by a layer, but it didn't matter and it completed successfully - saving a print, a bunch of filament, and a few hours!

For any comments or feedback please leave a comment on the PR: Restarting a 3D print